Nail art has become a popular form of self-expression, allowing individuals to showcase their creativity and style. One technique that has gained immense popularity is using painting gel to create unique designs on nails. In this blog post, we will explore the world of painting gel and provide you with valuable tips and techniques to achieve stunning and personalized nail art. From understanding the benefits of painting gel to mastering the application process, this comprehensive guide will help you unleash your creativity and create eye-catching designs that are sure to turn heads.
I. Brief Introduction about Painting Gel
1. What is Painting Gel?
Painting gel is a type of gel polish that is specifically formulated for creating intricate designs on nails. It has a thicker consistency than regular nail polish, allowing for more control and precision during application.
2. Benefits of Using Painting Gel?
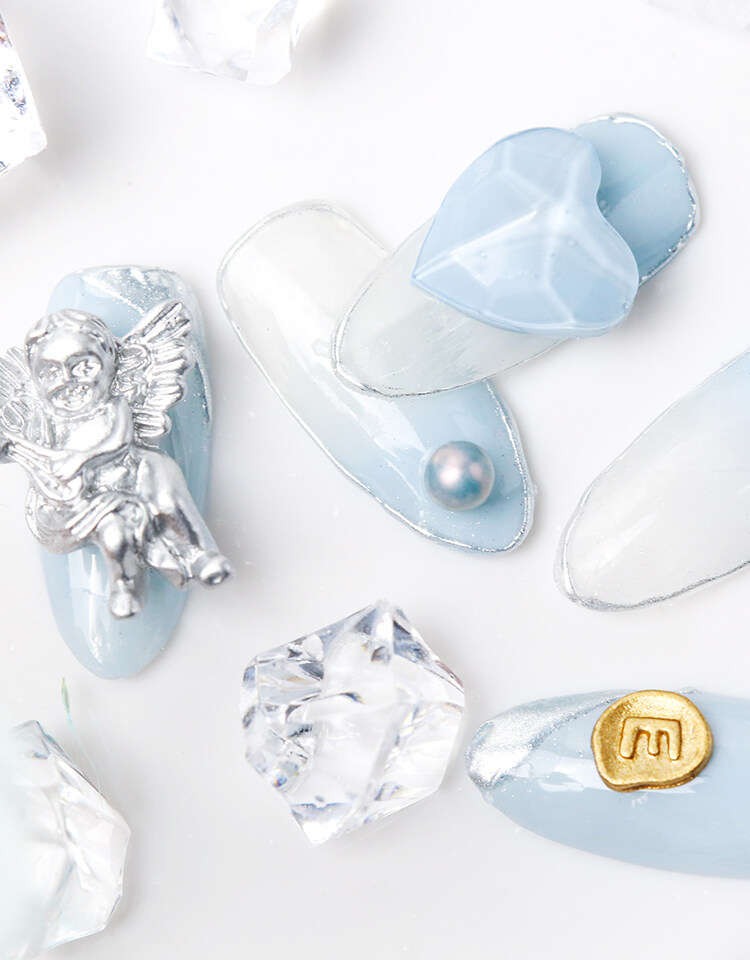
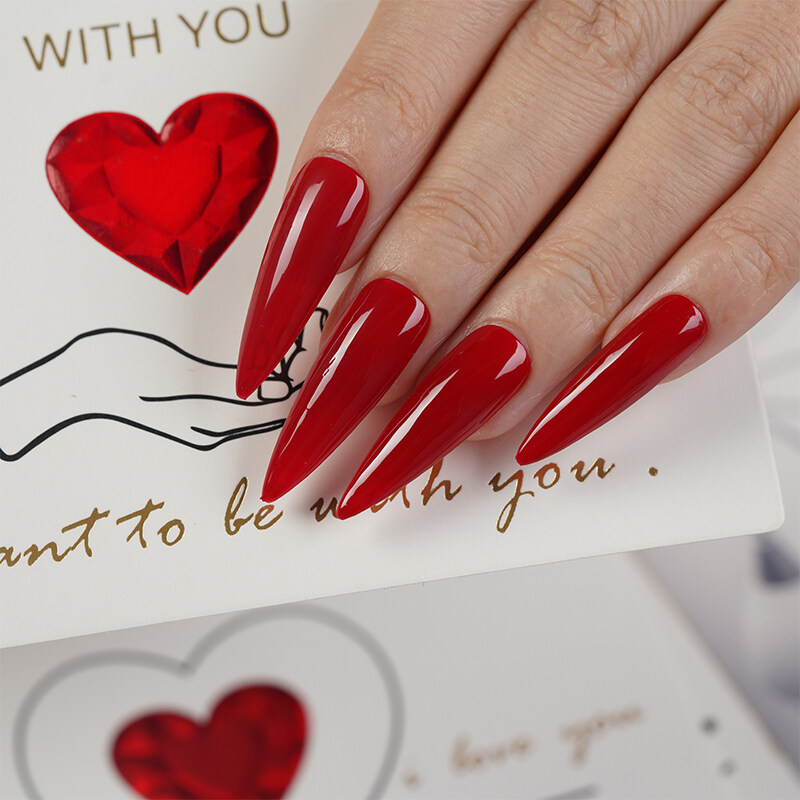
a. Versatility in design options: Painting gel offers endless possibilities for creating unique and intricate designs on your nails. From floral patterns to geometric shapes, the only limit is your imagination.
b. Long-lasting and durable: Painting gel is known for its longevity. Once cured under a UV or LED lamp, it forms a strong bond with the nail, ensuring that your designs stay intact for weeks.
c. Easy to use and control: The thicker consistency of painting gel makes it easier to control during application. It doesn’t run or smudge, allowing you to create precise lines and details with ease.
II. Preparing Your Nails for Painting Gel
1. Nail Preparation
a. Remove any existing nail polish: Start with a clean slate by using a gentle nail polish remover to remove any remnants of old nail polish.
b. Trim and shape your nails: Use a nail clipper and a file to achieve your desired nail shape and length.
c. Gently buff the nail surface: Use a buffer to smooth out any ridges or imperfections on the nail surface, ensuring a smooth canvas for your designs.
2. Applying Base Coat
a. Choose a suitable base coat: Select a base coat that is compatible with painting gel. This will provide a smooth and even surface for your designs.
b. Apply a thin, even layer of base coat: Using a brush, apply a thin layer of base coat to each nail, making sure to cover the entire surface.
c. Cure the base coat under a UV/LED lamp: Follow the manufacturer’s instructions and cure the base coat under a UV or LED lamp to ensure proper adhesion.
III. Mastering the Application of Painting Gel
1. Choosing the Right Painting Gel
a. Look for high-quality brands: Invest in painting gels from reputable brands to ensure vibrant colors and long-lasting results.
b. Consider the desired consistency and opacity: Different painting gels have varying consistencies and opacities. Choose the ones that suit your design requirements.
2. Essential Tools for Painting Gel
a. Fine detail brushes: Invest in a set of fine detail brushes with different brush sizes to create intricate designs.
b. Dotting tools: Dotting tools are great for creating dots, flowers, and other circular designs.
c. Nail art palette or silicone mat: Use a nail art palette or a silicone mat to mix and blend different colors of painting gel.
3. Techniques for Creating Unique Designs
a. Freehand painting: Use your brushes to create intricate designs directly on the nail surface.
b. Stamping and layering: Use stamping plates and layer different colors of painting gel to create complex designs.
c. Gradient and ombre effects: Blend different colors of painting gel together to create gradient or ombre effects on your nails.
d. Marble and watercolor designs: Use a water marble technique or create a watercolor effect by blending different colors of painting gel.

IV. Tips for Achieving Professional-Looking Nail Art
1. Practice and Patience
a. Start with simple designs and gradually progress: If you’re new to painting gel, start with basic designs and gradually challenge yourself with more intricate patterns.
b. Take your time and be patient with the process: Nail art requires precision and attention to detail. Take your time to ensure each stroke is perfect.
2. Proper Brush Care
a. Clean brushes thoroughly after each use: Clean your brushes with a brush cleaner or gentle soap and water to remove any residual gel.
b. Store brushes properly to maintain their shape: Store your brushes upright or in a brush holder to prevent them from bending or losing their shape.
3. Seal and Protect Your Design
a. Apply a top coat to seal and protect the painting gel design: Once your design is complete, apply a layer of top coat to seal and protect it from chipping or fading.
b. Cure the top coat under a UV/LED lamp for long-lasting results: Follow the manufacturer’s instructions and cure the top coat under a UV or LED lamp for the recommended time.
V. Removing Painting Gel and Maintaining Nail Health
1. Gentle Removal Process
a. Soak nails in acetone or use a peel-off base coat: To remove painting gel, you can either soak your nails in acetone or use a peel-off base coat specifically designed for gel removal.
b. Gently remove the softened gel with a cuticle pusher: Once the gel has softened, use a cuticle pusher to gently scrape off the gel from the nail surface.
2. Nail Care After Removal
a. Apply cuticle oil to nourish and hydrate the nails: After removing the painting gel, apply cuticle oil to moisturize and nourish your nails and cuticles.
b. Take a break between manicures to allow nails to breathe: Give your nails a break between manicures to allow them to breathe and recover from the gel application.
Conclusion
Painting gel opens up a world of possibilities for creating unique and personalized nail art designs. By following the tips and techniques outlined in this comprehensive guide, you can unleash your creativity and achieve professional-looking results. Remember to practice, be patient, and have fun experimenting with different designs. With painting gel, you can transform your nails into miniature works of art that reflect your individual style. Get ready to showcase your creativity and enjoy the beauty of your one-of-a-kind nail art!