Spider gel is a versatile nail art product that allows you to achieve intricate and unique patterns. In this article, we will guide you through the process of using spider gel and provide you with some inspiring nail design ideas.
I. Understanding Spider Gel?
1. What is Spider Gel?
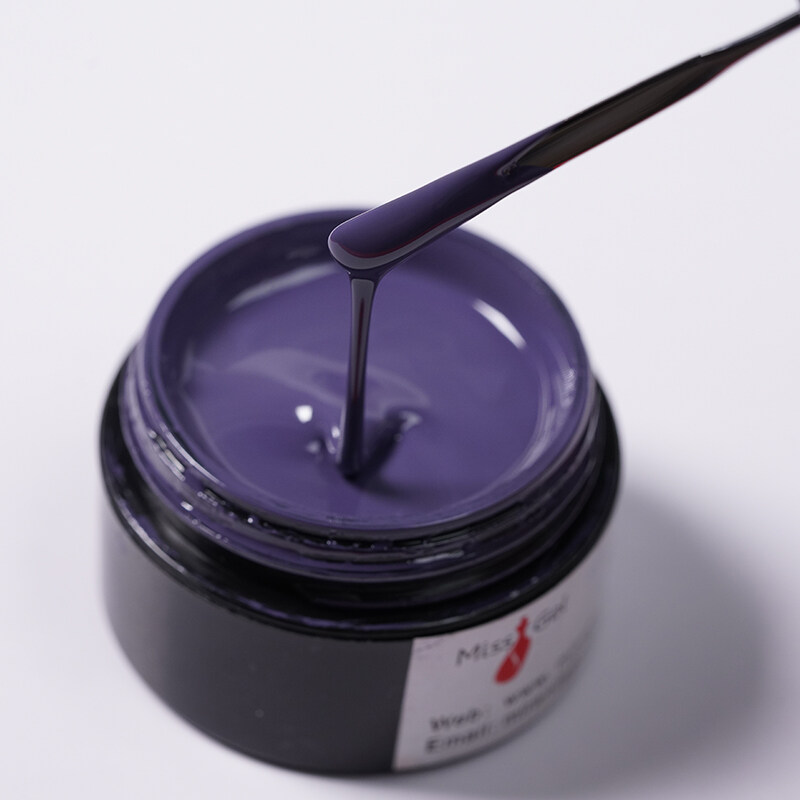
Spider gel is a thick, sticky gel that is used for creating intricate nail designs. It has a unique consistency that allows it to be easily manipulated and stretched into various patterns.
2. Why Choose Spider Gel for Nail Designs?
Spider gel offers several advantages for nail art enthusiasts. It is highly pigmented, allowing for vibrant and bold designs. Its thick consistency prevents it from running or smudging during application. Additionally, spider gel is self-leveling, which means it smooths out on its own, resulting in a professional-looking finish.
3. Essential Tools and Supplies
To get started with spider gel nail designs, you will need the following tools and supplies:
- Spider gel in various colors
- Nail art brushes (thin and precise)
- Nail polish remover
- Cotton pads or swabs
- Base coat and top coat
- UV or LED lamp (if using gel spider gel)
II. Preparing Your Nails?
1. Clean and Shape Your Nails:
Start by removing any old nail polish and shaping your nails to your desired length and shape. Use a nail file to gently shape the edges and smooth the surface.
2. Apply a Base Coat:
Apply a thin layer of base coat to protect your natural nails and provide a smooth surface for the spider gel design to adhere to. Allow it to dry completely before proceeding.
3. Choose Your Spider Gel Colors:
Select the spider gel colors you want to use for your design. Consider the color scheme and the overall look you want to achieve. You can choose complementary colors or experiment with contrasting shades for a bold effect.
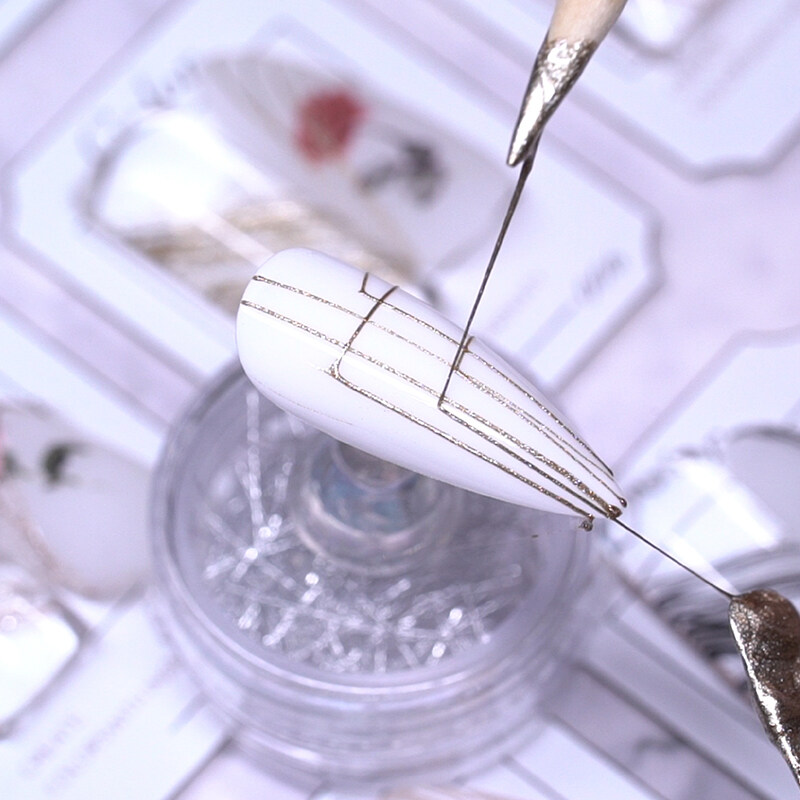
III. Basic Spider Gel Techniques
1. The Dragging Technique:
Using a thin nail art brush, dip it into the spider gel and drag it across the nail in a straight or curved line. You can create various patterns like stripes, waves, or swirls using this technique.
2. The Dotted Technique:
Load a small amount of spider gel onto the tip of a nail art brush and gently dot it onto the nail surface. You can create random dots or arrange them in a specific pattern to create unique designs.
3. The Swirling Technique:
Apply different colors of spider gel onto the nail and use a thin brush to swirl them together. This technique creates a marbled effect and allows you to blend colors seamlessly.
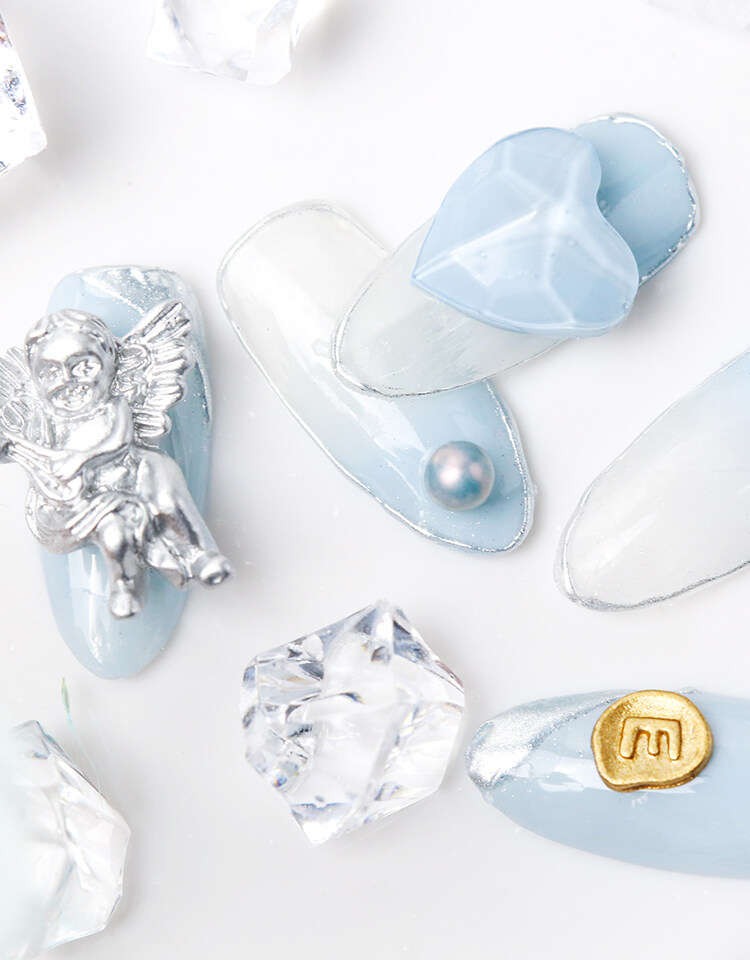
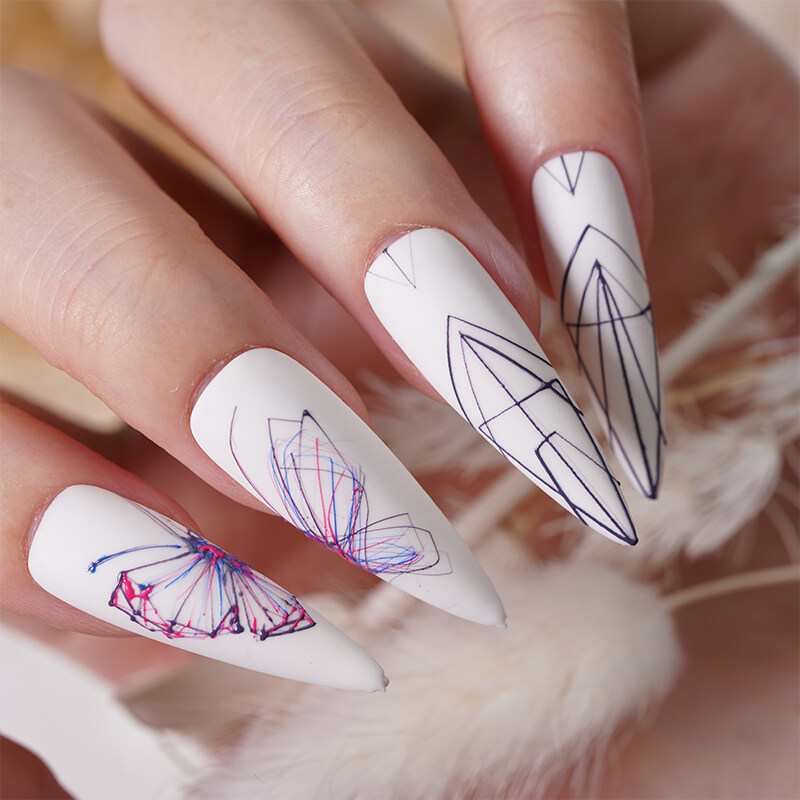
IV. Nail Design Ideas:
1. Geometric Patterns:
1). Triangles and Squares:
Create a modern and edgy look by using spider gel to draw triangles or squares on your nails. Experiment with different sizes and color combinations for a unique design.
2). Chevron and Zigzag Patterns:
Achieve a trendy and dynamic look by creating chevron or zigzag patterns using spider gel. Alternate colors or create a gradient effect for added visual interest.
3). Diamond and Rhombus Designs:
Use spider gel to draw diamond or rhombus shapes on your nails. Combine different colors or add glitter accents for a glamorous and eye-catching design.
2. Floral and Nature-inspired Designs:
1). Delicate Petals and Leaves:
Create intricate floral designs by using spider gel to draw delicate petals and leaves. Experiment with different flower types and color combinations for a feminine and elegant look.
2). Blooming Flowers:
Use spider gel to create blooming flowers on your nails. Start with a small dot in the center and draw curved lines outward to create petals. Add details with contrasting colors or glitter for a stunning effect.
3). Tropical Paradise:
Embrace a tropical theme by using spider gel to draw palm leaves, exotic flowers, or vibrant fruits on your nails. Play with bold colors and patterns to capture the essence of a tropical paradise.
3. Abstract and Modern Designs:
1). Colorful Splatters:
Create a playful and artistic look by splattering spider gel onto your nails. Dip a thin brush into the gel and flick it over your nails to achieve a splatter effect. Experiment with different colors and densities for a unique design.
2). Geometric Abstractions:
Combine geometric shapes and abstract patterns using spider gel to create a modern and artistic nail design. Play with negative space, color blocking, and asymmetry for a contemporary look.
3). Metallic Accents:
Add a touch of glamour to your nail designs by incorporating metallic spider gel. Use it to create accents, outlines, or intricate details that catch the light and create a luxurious effect.
V. Tips and Tricks for Perfect Nail Designs:
1. Practice Makes Perfect:
Spider gel techniques require practice to achieve precision and control. Start with simple designs and gradually work your way up to more complex patterns.
2. Experiment with Color Combinations:
Don’t be afraid to mix and match different spider gel colors to create unique and eye-catching designs. Play with contrasting or complementary shades to achieve a visually striking effect.
3. Use Thin Brushes for Precision:
Invest in high-quality nail art brushes with thin bristles to achieve precise lines and intricate details. This will help you create clean and professional-looking designs.
4. Seal Your Design with a Top Coat:
Once your spider gel design is complete, apply a layer of top coat to seal and protect it. This will enhance the longevity of your nail art and give it a glossy finish.
V. Maintenance and Removal:
1. Longevity of Spider Gel Designs:
Spider gel designs can last up to two weeks with proper care. Avoid exposing your nails to harsh chemicals or excessive moisture, and wear gloves when doing household chores to prolong the life of your nail art.
2. Proper Nail Care:
Moisturize your nails and cuticles regularly to keep them healthy and prevent breakage. Avoid using your nails as tools to prevent chipping or lifting of the spider gel design.
3. Safe Removal Process:
To remove spider gel designs, soak a cotton pad or swab in nail polish remover and place it on the nail. Wrap the nail with aluminum foil and let it sit for 10-15 minutes. Gently remove the foil and wipe away the softened spider gel with the cotton pad.
Conclusion
Spider gel opens up a world of possibilities for creating stunning nail designs. With its versatility and ease of use, you can let your creativity run wild and experiment with various techniques and patterns. Whether you prefer geometric shapes, floral motifs, or abstract designs, spider gel allows you to achieve professional-looking nail art at home. Remember to practice, have fun, and don’t be afraid to try new ideas. Now, go ahead and unleash your inner nail artist with spider gel!
If you are looking for spider gel, you can just contact with us! We can provide you with wholesale price and best service.