Builder gel is a popular choice among nail enthusiasts for its durability and long-lasting effects. However, when it comes to removing builder gel, it can be a bit challenging. In this blog post, we will explore the process of removing builder gel and provide you with some tips and tricks to make the removal process easier.
What is Builder Gel?
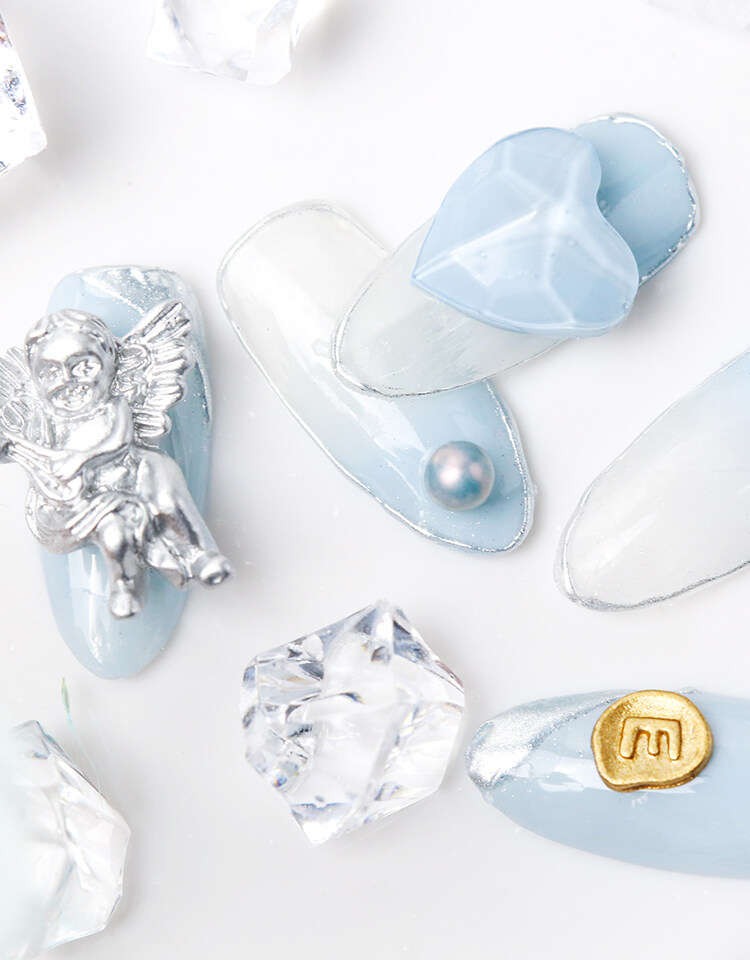
Builder gel is a type of gel used in nail extensions and overlays. It is thicker and more durable than regular gel polish, making it ideal for creating strong and sturdy nail enhancements. Builder gel is cured under a UV or LED lamp, resulting in a hard and long-lasting finish.
Why is Builder Gel Hard to Remove?
Builder gel is designed to be durable and long-lasting, which is why it can be challenging to remove. Unlike regular gel polish, which can be easily soaked off with acetone, builder gel requires a more thorough removal process. The thickness and strength of builder gel make it resistant to traditional removal methods, requiring a bit more effort and time.
The Removal Process?
Now that we understand why builder gel is hard to remove, let’s explore the step-by-step process of removing it.
1. Prepare Your Tools:
Before you begin the removal process, gather all the necessary tools. The chart is above:
|
Nail File or Buffer
|
|
Aluminum Foil
|
|
Cotton Balls or Pads
|
|
Acetone
|
|
Cuticle Pusher or Orangewood Stick
|
|
Nail Clipper (if needed)
|
2. File the Surface:
Using a nail file or buffer, gently file the surface of the builder gel. This step helps to break the seal and allows the acetone to penetrate the gel more effectively. Be careful not to file too aggressively, as you don’t want to damage your natural nails.
3. Soak the Cotton Balls:
Take a cotton ball or pad and saturate it with acetone. Make sure it is wet but not dripping. You can also use pre-soaked acetone wraps or gel removal clips for convenience.
4. Apply the Cotton Balls:
Place the acetone-soaked cotton balls directly on top of your nails, ensuring that the builder gel is fully covered. If you’re using aluminum foil, wrap it around your fingertips to hold the cotton balls in place. This creates a barrier that helps to trap heat and speed up the removal process.
5. Wait and Relax:
Once the cotton balls are in place, sit back and relax. The acetone needs time to break down the builder gel, so it’s best to wait for at least 15-20 minutes. You can use this time to catch up on your favorite TV show or indulge in a quick self-care session.
6. Gently Remove the Gel:
After the waiting period, remove the aluminum foil or gel removal clips and gently push the softened builder gel off your nails using a cuticle pusher or orangewood stick. Be careful not to force or scrape too hard, as this can damage your natural nails. If needed, you can also use a nail clipper to trim any excess gel.
7. Moisturize and Nourish:
Once all the builder gel is removed, it’s essential to moisturize and nourish your nails. The removal process can be drying, so apply a cuticle oil or a nourishing nail treatment to restore moisture and promote healthy nail growth.
Tips for Easy Removal?
Now that you know the step-by-step process of removing builder gel, here are some additional tips to make the removal process easier:
1. Don’t rush: Take your time during the removal process to avoid damaging your natural nails.
Use quality products: Invest in high-quality acetone and other removal tools to ensure effective and safe removal.
2. Wrap your nails properly: Ensure that the cotton balls or pre-soaked wraps are tightly secured around your nails to maximize the contact between the acetone and builder gel.
3. Be patient: If the builder gel doesn’t come off easily, reapply the acetone-soaked cotton balls and wait for a few more minutes. Avoid scraping or picking at the gel forcefully.
4. Seek professional help if needed: If you’re unsure or uncomfortable with the removal process, it’s best to seek professional help from a nail technician.
Conclusion
Removing builder gel may require a bit more effort and time compared to regular gel polish, but with the right tools and techniques, it can be done effectively. Remember to be patient, take your time, and prioritize the health of your natural nails throughout the removal process.
Want to know more about builder gel, welcome to just contact with us! There are professional experts giving your perfect answers and solutions, and we are from leading and professional builder gel factory.