Glitter top coats are a fantastic way to add sparkle and glamour to your nails. However, applying them can be a bit tricky, as the glitter particles tend to clump or create an uneven texture. In this blog post, we will provide you with a step-by-step guide on how to correctly apply a glitter top coat for a flawless and dazzling manicure.
Preparing Your Nails
Before applying any nail polish, it is essential to prepare your nails properly. Follow these steps to ensure a smooth and long-lasting application:
1. Clean and Shape:
Start by removing any old nail polish and gently shape your nails using a nail file. Ensure that your nails are clean and free from any oils or residue.
2. Apply a Base Coat:
Apply a thin layer of base coat to protect your nails and create a smooth surface. This will also help the glitter top coat adhere better and prevent staining.
Choosing the Right Glitter Top Coat?
There are various types of glitter top coats available, ranging from fine glitters to chunky ones. Consider the look you want to achieve and select a glitter top coat that matches your desired effect.
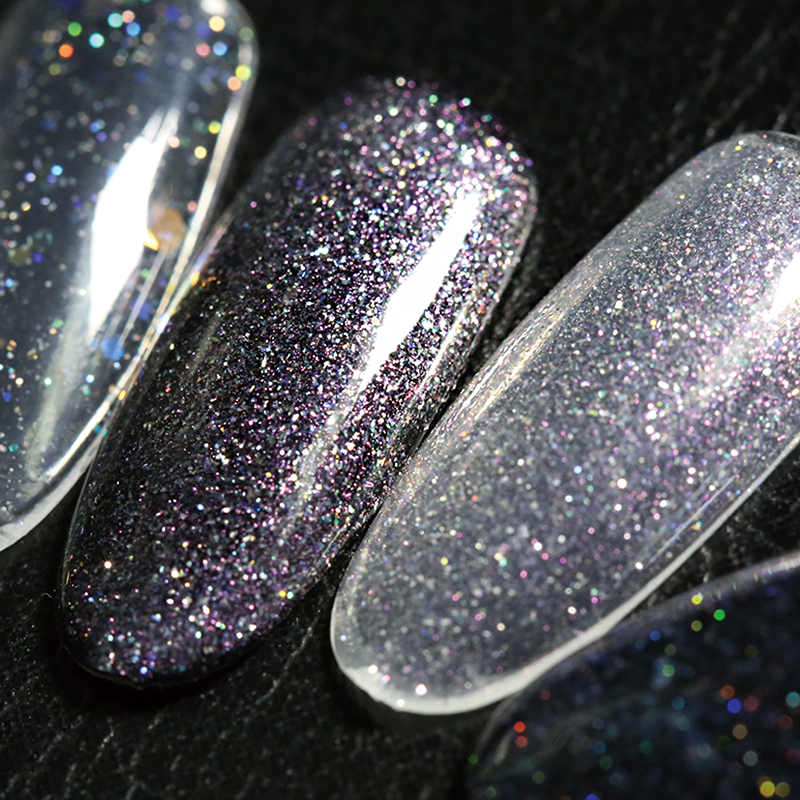
1. Fine Glitter:
Fine glitters create a subtle and delicate sparkle. They are perfect for a more understated and elegant look.
2. Chunky Glitter:
Chunky glitters provide a bold and eye-catching effect. They are ideal for special occasions or when you want to make a statement.
Applying the Glitter Top Coat?
Now that your nails are prepped and you have chosen the right glitter top coat, it’s time to apply it. Follow these steps for a flawless application:
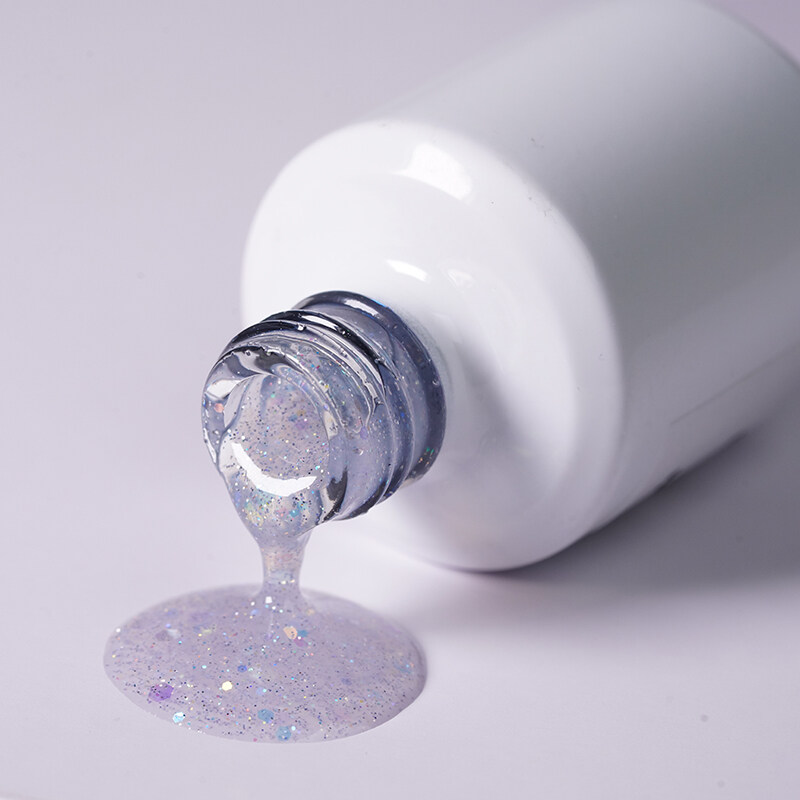
1. Shake the Bottle:
Before opening the glitter top coat, give it a good shake. This will help distribute the glitter particles evenly throughout the polish.
2. Apply a Thin Base Coat:
Start by applying a thin layer of a clear or colored nail polish that matches the glitter top coat. This will act as a base for the glitter and provide a more even application.
3. Apply the Glitter Top Coat:
Gently brush on a layer of the glitter top coat, starting from the base of your nails and moving towards the tips. Ensure that the glitter is evenly distributed and covers the entire nail surface.
4. Layering Technique:
For a more intense glitter effect, you can apply multiple layers of the glitter top coat. Allow each layer to dry before applying the next one. This will create a stunning depth and dimension to your manicure.
Sealing and Protecting Your Glitter Manicure:
To ensure the longevity of your glitter top coat and prevent any chipping or peeling, follow these steps:
1. Apply a Top Coat:
Once the glitter top coat is completely dry, apply a layer of clear top coat over it. This will seal the glitter and provide a smooth and glossy finish.
2. Wrap the Tips:
To prevent premature tip wear, wrap the top coat over the edges of your nails. This will create a protective barrier and extend the life of your manicure.
Conclusion
By following these step-by-step instructions, you can achieve a flawless and dazzling application of a glitter top coat. Remember to prepare your nails properly, choose the right glitter top coat, and apply it with precision. With a little practice and patience, you’ll be able to create stunning glitter manicures that will catch everyone’s attention. So go ahead, embrace the sparkle, and let your nails shine!